Threadless Bottom Bracket from velo-orange
here is what you get
This is a pretty simple and well executed design, each cup of the bb has a taper with a sliding split sleeve on it. As you screw the two halves of the bb into each other the sleves slide up the taper, expanding against the inside of the shell. When you can't tighten it anymore, it is wedged in there good. You are done. The bottom bracket is available for $60 from
Velo Orange update 1/5/10: Lots of questions about "will this work on my fisher or fat-chance or merlin with no thread BB shells or a thompson bb, etc..." I do not know, but I do know this:
the silver split ring measures at just above 33.5mm when placed all the way down the taper, and 34mm all the way up. I think the ID (at thread tips) of most bottom brackets (english swiss french) is something like 33.75. You basically have to have the ID of the bb be between 33.5 and 34 for this to work. Might be a little slop at the outer ranges, but not much. I tried installing this BB on 5 different frames. 2 were very easy , one took some work, and two were impossible due to problems with the frames.
Oddly colored bottom bracket. Alas it does not match the classic bullseye hub
Playing with the bottom bracket on the table the bottom bracket begins to engage at about 78mm in between the cups inner flange. After three full turns the distance between the inner flanges is just over 75mm.
three turns and you are at 75mm flange to flange
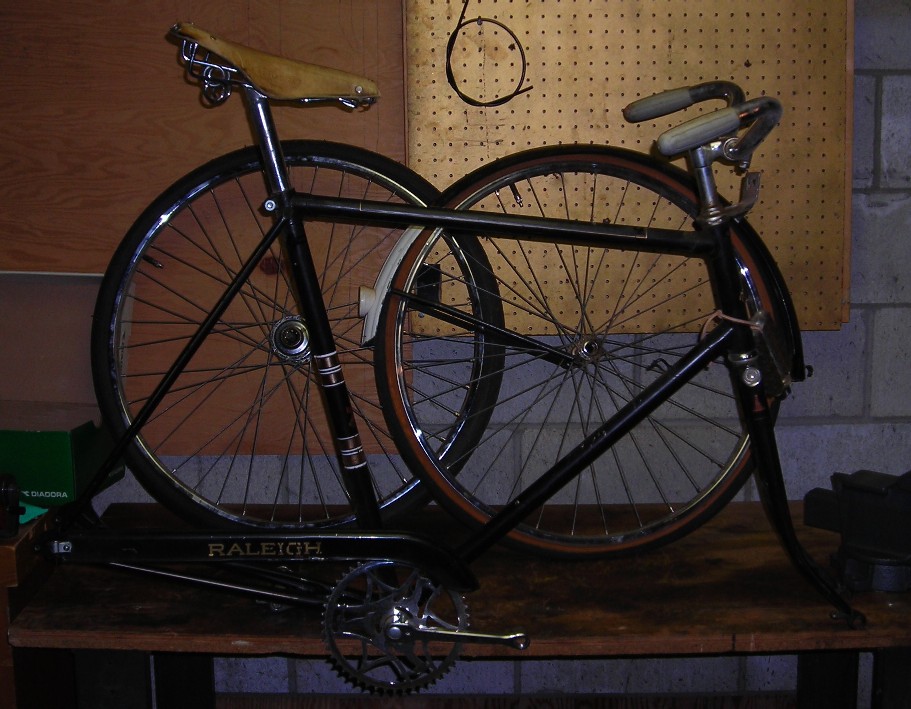
When the bb is completely tightened to the point of bearings binding, the inner flange diameter is just below 68mm. However, the inner flange diameter has little relation to where the tool will actually tighten down in a given BB. Both flanges do not make it all the way to the bb shell. Due to the internally expanding design and variations in ID of the BB shell and roundness, the spacing between the flanges is usually a tiny bit to more than that wider than the BB shell. Alas, this means that there is virtually no way you can use this BB for a Raleigh twenty with a 76mm bottom bracket shell.
The bearings are replaceable cartridge bearings. Bearing assembly is held together with a snap ring. I did attempt to dissasemble the bottom bracket, but the snap ring had larger holes than my snap ring remover, so I gave up.
Update 1/5: Per the comments, the snapring does sit in a groove just outboard of the bearing. This is a stress riser in an already highly stressed area.Update 1/8/10: Tom from Velo Orange responds in the comments:
"the BB spindle material is much different from the 70's Viscount/ Lambert BB's that were sold back in the day. Newer material (Boron hardened steel) with a newer alloying process produces a BB spindle that is less brittle and may significantly reduce the chance of failure from where the snap-ring groove is.
Of course, if there is ever an issue, Velo Orange will stand behind the product and cover it under warranty."
The cups have 6 lock ring cuts on the outer diameter as well as large pin holes on the face. The cups are all aluminum, and the lock ring notches can strip out when you are cranking hard on it with a single point lockring wrench. I used a variety of bb specific lock ring wrenches as well as a couple headset and track ones, not one interfaced securely enough to avoid the possibility of stripping the notches when tightening. The pin holes are large and deep, but I did not try to use them for installation. None of the modern shimano BB tools interface with this bottom bracket (Park tools BBT-18, BBT-8, )
I believe the correct tool for this job is a Park BBT-4 with the 6 notches. I have every bb tool ever, but not this one, so I can't confirm it. update 1/5/10: commenter points out the bbt-4 is not the right tool. It has rounded notches, not squared ones. Velo orange says single point BB tool is the right one and cranking hard is not necessary
I did install and remove the BB on 5 different frames and thus subjected the bottom bracket to repeated installation and really cranked on it to see if it would loosen over time, so I am pretty sure you can get this seated well without stripping the notches with a single point lock ring wrench. I also cranked on the drive side cup after fully tightening the non-drive side, I had multiple notch stripping here, this is probably not a good idea.I did this on the frame where the drive side flange was not seated on the BB-shell. If you do this, you may find it very difficult to remove the drive side of the BB. When I did this it sort of bound on itself and did not move. This is a great sign for the solidness of the bottom bracket, to remove the bottom bracket (if there is room ) you can insert a screwdriver between the flange and the silver slider and wedge it out.
update 1/5/10: Velo orange says single point BB tool is the right one. In retrospect for normal installation, they are correct, it does work fine for a single installation and removal, as long as you don't crank on it too hard.Again, if your inner BB-shell is out of round or dirty or subsized, the flanges will not seat on the shell. I think the best bet would be to do all the tightening from the non-drive side. If I was redesigning this, I would make sure it interfaced with either the BB-18 tool (Shimano Isis 8 notch) or the BBT-9 tool (18 external notches) for the outboard bearing cranks, both of which are easier to find in a shop right now.
well seated in a miyata Terra Runner
So in total I easily installed this BB in a:
1980s Miyata Terra runner ATB frame with a English threaded BB shell width of 72mm
A 1970's track frame with a french threaded BB shell, 68mm width
Raleigh Sports with bottom bracket installed
I was able to install it in:
1960's Raleigh Sports, with a 71mm raleigh threaded BB shell. However due to some rock hard grease on the shell between the threads, the tapers would not seat fully. The down tube and seat tube protude through the bb shell lug on this frame, they may also impinge upon the bb slightly. Even after cleaning the grease, the bottom bracket did not seat fully. I do not believe that this will affect the function of the Bottom bracket.
Installed in Raleigh Sports, note drive (blue) side flange not fully seated
I was not able to install this bottom bracket in my Raleigh Twenty with 71mm bottom bracket. The interior of the bb is actually slightly smaller than the threaded portion, preventing the silver sliders from entering the frame fully, which prevented the two bottom bracket halves to thread into each other.
I was not able to get the BB to install in my Raleigh Twenty with 76mm bottom bracket. It may be possible to get the threads started on a bottom bracket this wide, but I do not see it as a likely bet. It certainly did not work on mine. As with many Raleigh frames, the worksmanship is sloppy, and there are some weld blips in the bottom bracket shell between the threaded region that may prevent this bottom bracket from working at all, despite the length. It is probably possible to hacksaw the bb shell down and use this bottom bracket, I don't particularly recommend this, although sheldon brown did (
here, search for hacksaw).
For wider shells, remember that the nondrive side cup will stick out a little farther than the shell and I could see this interfering with the crank arm. All the extra width will effect where the outer flange on the non-drive side sits. Not the drive side. So a 73mm shell, for example, will have the non-drive side bb axle effectively 5mm closer to the centerline of the bike than it would on a 68mm shell. Not a big deal on longer bottom brackets probably, but not great if you are really trying to use a narrow bottom bracket in a wide shelled frame, as you might with a SA hubbed raleigh sports for example.
I had no trouble reinstalling threaded bottom brackets in two of the frames I tried this on. The threads do not seem to be affected at all. All these frames are steel! This could be an issue with aluminum frames, but I do not know.
Finally, the BB came with no instructions. Based on my experiences, here is what I would recommend.
0. Check to see if there are any obstructions in the bottom bracket shell that stand proud of the threads, if there are and they are removable, do so, if not, consider not ordering this bottom bracket.
1. Clean well the BB shell of the frame you want to install this bottom bracket in.
2. Grease the bottom bracket shell.
3. Remove the silver sliders from the bottom bracket
4. Grease the threads on the bottom bracket.
5. Lightly grease the tapered section of the bottom bracket.
6. Lightly grease the inside and outside of the silver sliders
7. Reinstall the silver sliders and push them down the tapers as far as they go.
8. Place the drive side of the bottom bracket into the shell, press as deeply as you can.
9. Place the non-drive side of the bottom bracket into the bb shell, until it makes contact with the other side.
10. Turn non-drive side threading it into the drive side. Turn until it is tight.
And then you are done. In fairness, I did none of this on the Miyata and the french track frame, I just threaded it in and it worked fine.
In conclusion, I think this product works great. I think this will work nicely on most frames. It is a nice solution to dealing with swiss threaded bb's, french threaded bb's or frames with slighly munged up bb threads. Depending on your BB width, this may work great on your old Raleigh Sports. It may not work though, due to characteristic Raleigh sloppy worksmanship. Furthermore, I do not believe it will work on any Raleigh twenties with 76mm bottom brackets. If there is anything in a frame's bottom bracket shell that stands proud of the threads, this bottom bracket might not work.
Tool Notes: I removed the cottered cranks and bottom brackets off of three different raleigh frames. Two twenty and a sports. They were all at least 30 years old and one of them had probably never had the bb pulled. I used a
cotter pin press and
raleigh bb tool from Mark Stonich's
bike smith design. If you work on bikes with cottered cranks and have lots of old raleighs with the annoying subliminally flatted raleigh drive side cups, these tools are completely worth it. They are not cheap, but they are very well made.
Finally, I received this bottom bracket to review from Chris at Velo-Orange. And review it I have. I will keep it installed on the raleigh sports for now and build that up with a
coaster braked 650B wheelset I built up and report back with any issues as i put mileage on it over the next month or so.